Data Security Page
Page details
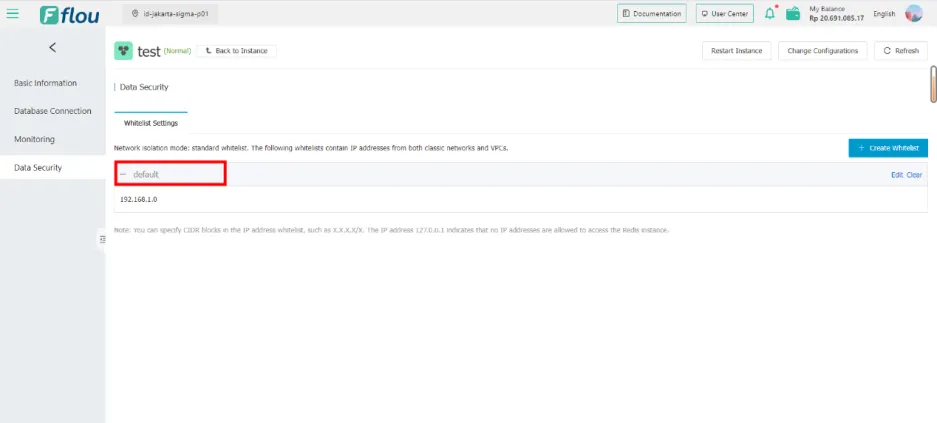
- Click Default to expand and collapse.
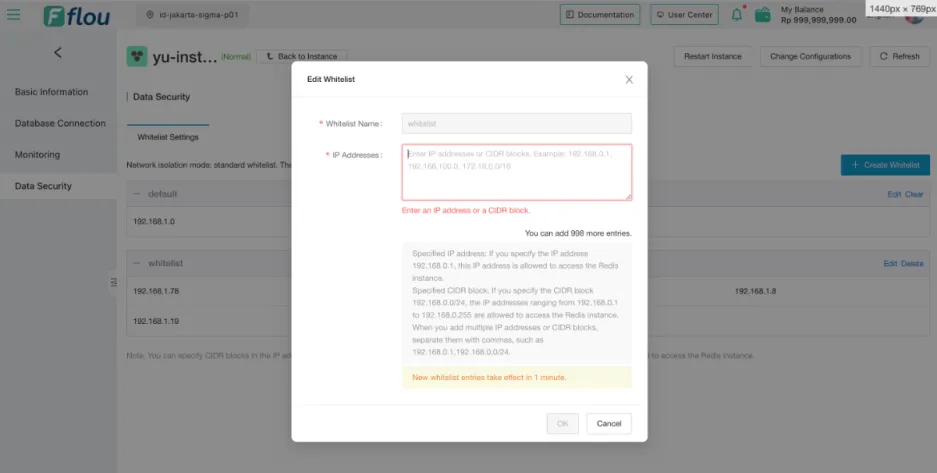
Create a whitelist

- Click the Create Whitelist button and a pop-up window will appear.
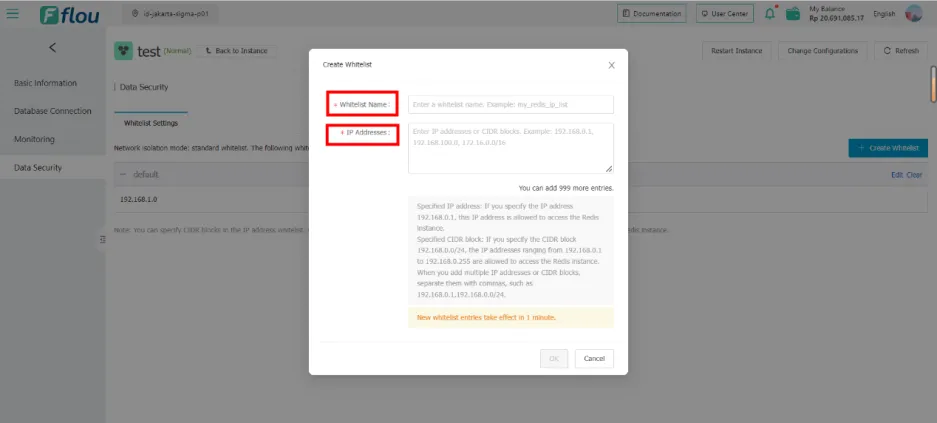
- Whitelist Name is required, characters from 2 to 32 in length, can contain lowercase letters, numbers, and underscores, and must start with a lowercase letter and end with a lowercase letter and number.
- IP addresses are required, in the format x.x.x.x or x.x.x.x/x, when there are multiple fields, they should be separated by commas.
- After entering the Whitelist Name and IP Address that meet the requirements, click OK, and the success prompt 'successfully.' will appear, and you will return to the Data Security interface.
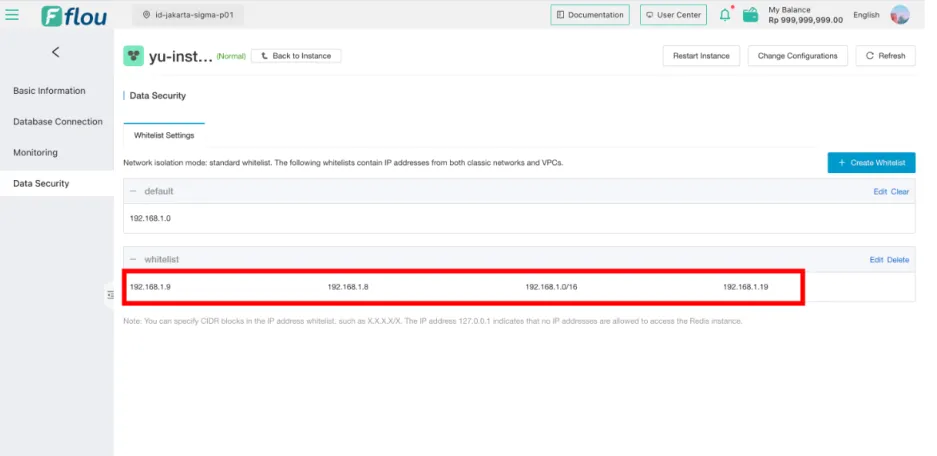
- The Data Security interface displays the newly created Whitelist, the IP address is displayed correctly, and the number 999 in You can add 999 more entries.
Edit the whitelist
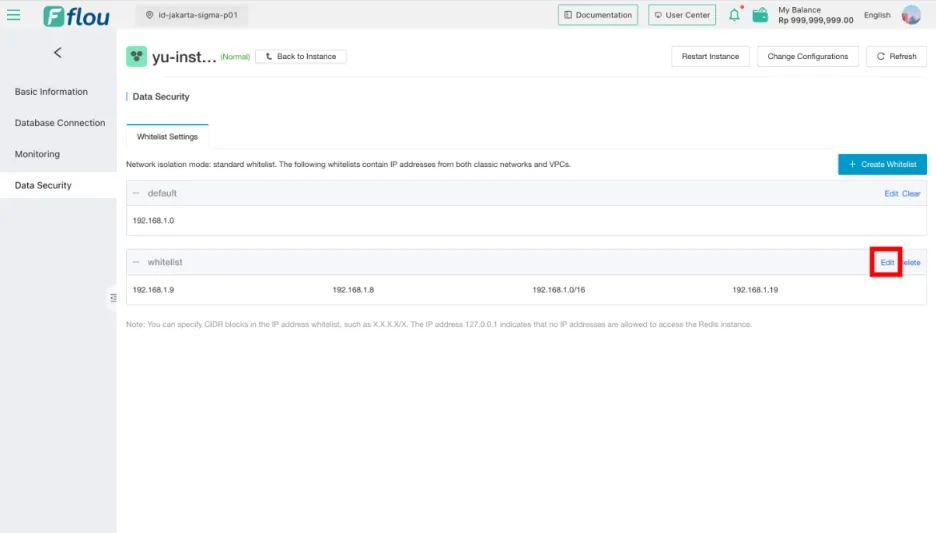
- Select a whitelist on the interface and click the Edit button.
- After modifying the IP address, if you enter multiple IPs, the number 999 in You can add 999 more entries. will change accordingly, click OK.
Delete the whitelist
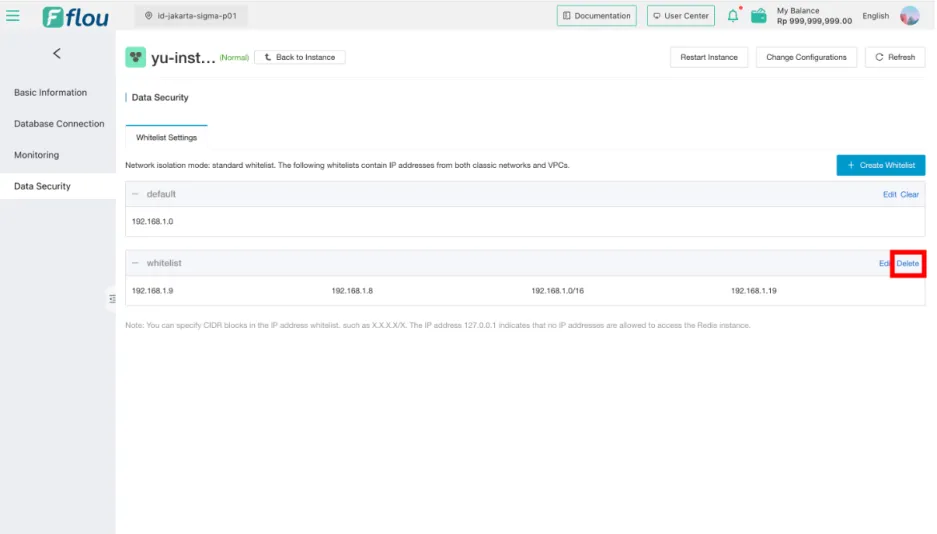
- Select a whitelist on the interface and click the Delete button.
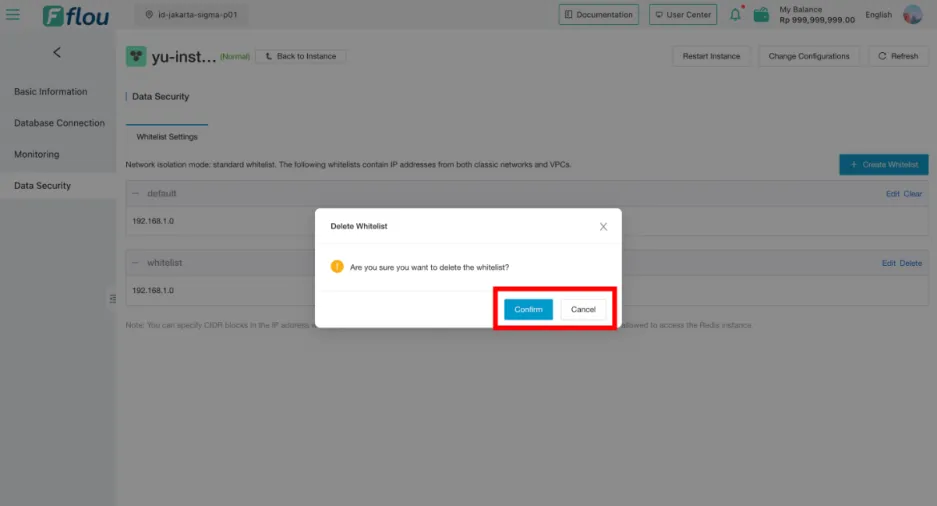
- When the delete pop-up box appears, click Confirm to delete the whitelist.
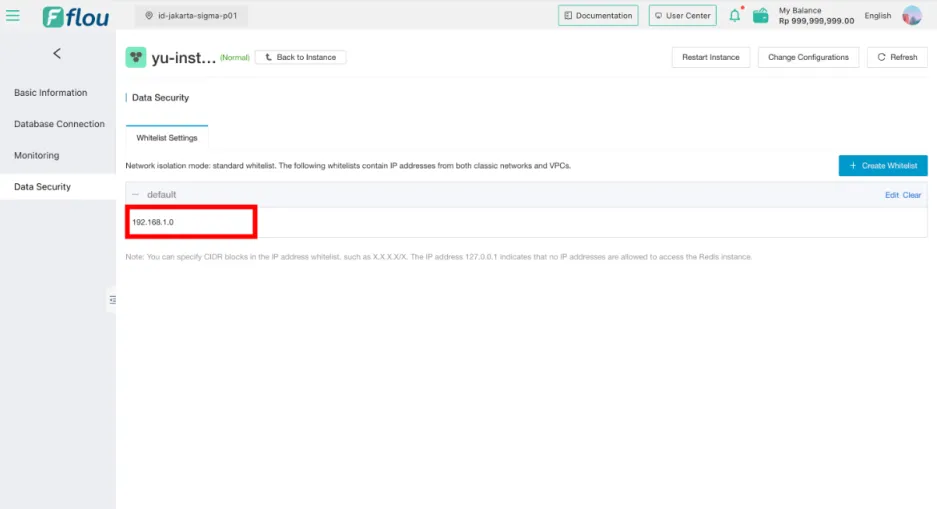
- After the record is deleted, the record is not displayed on the Data Security page.